Defining Callouts Using a New Blank Callout
When you create a callout in the Real-Time Designer, you first need to draw the callout frame to determine the size and shape of the pop-up window that will appear on an agent's desktop and then design the content of this window. While you can also create and edit the contents of this window in HTML, editing in HTML is neither required nor preferable because the Real-Time Designer provides all the WYSIWYG (What You See Is What You Get) options you need.
To define a callout using a new blank callout:
-
On the Presentation tab, select the Callout tab at the bottom of the Presentation pane, the select the Callouts folder.
-
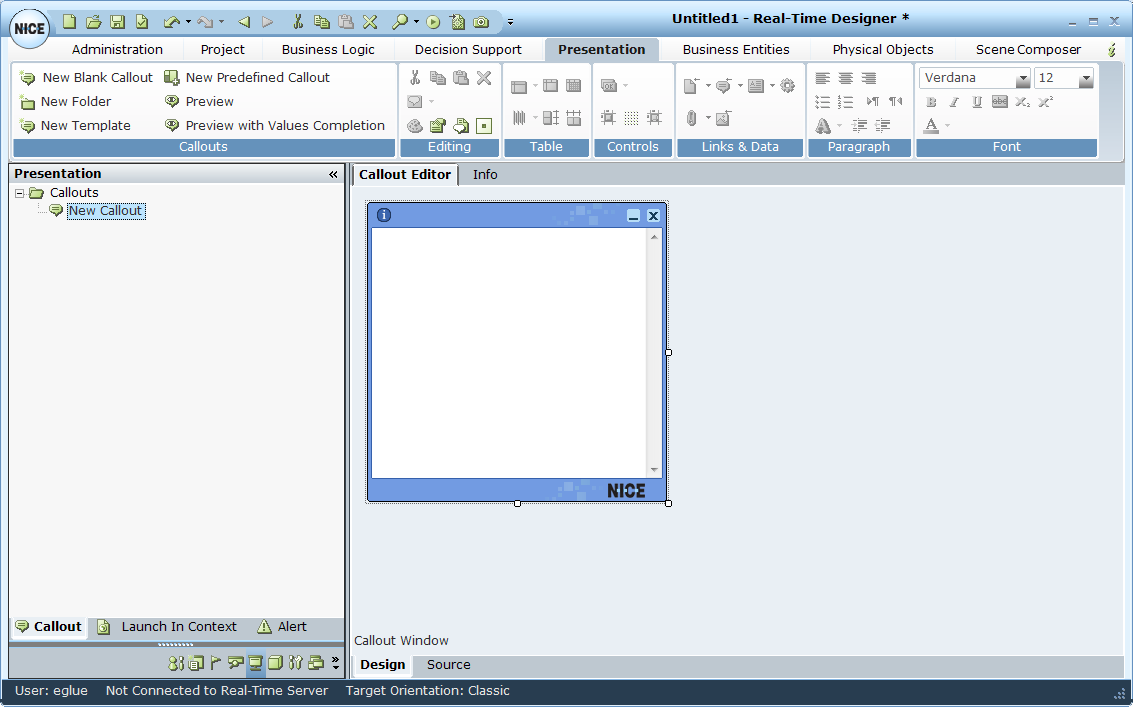
In the Callouts area of the toolbar, click New Blank Callout.
The callout, called New Callout, is created and selected in the Presentation pane, and appears in the Callout Editor in the right pane.
You can rename a callout by selecting it in the tree and typing in a new name.
-
Design the position, size, and appearance of the callout frame, as described in Designing the Callout Frame, Body, and Location.
-
Set the properties of the callout, such as its appearance and size, as described in Defining Callout Properties.
-
Add text, dynamic text, and links to the callout, as described in Defining the Callout Content.
-
To design a callout template and use that as a base for creating new callouts, see Designing and Using a Callout Template.
-
To see which right-click options are available, see Callout Right-Click Menu.
-
To edit a callout using scripts, see Accessing Callout Parameters Using Scripts.
-
To assign a business entity value to the Source URL of an IFRAME, see Assigning a Business Entity Value to the Source URL of an IFRAME.
-
In the Callouts area of the toolbar, click Callout Preview to preview the appearance of this callout as it will be shown on an agent's desktop. You can also preview the callout including its dynamic data by clicking Preview with Values Completion, as described in Previewing a Callout with Dynamic Data.